Importing a CSV file using Airtable scripting
Airtable has a couple of ways to import data from an external file - a CSV file or spreadsheet for example. When creating a table you can use the Import data functionality. This is great when you are starting out, but once the table is created you can’t import more data to it - it is only for table creation.
You can also use the CSV Import App which allow you to append data to a table.
A third method is to use the Airtable scripting app and the input.fileAsync method to get data into your table. Let’s walk through a script that does just this.
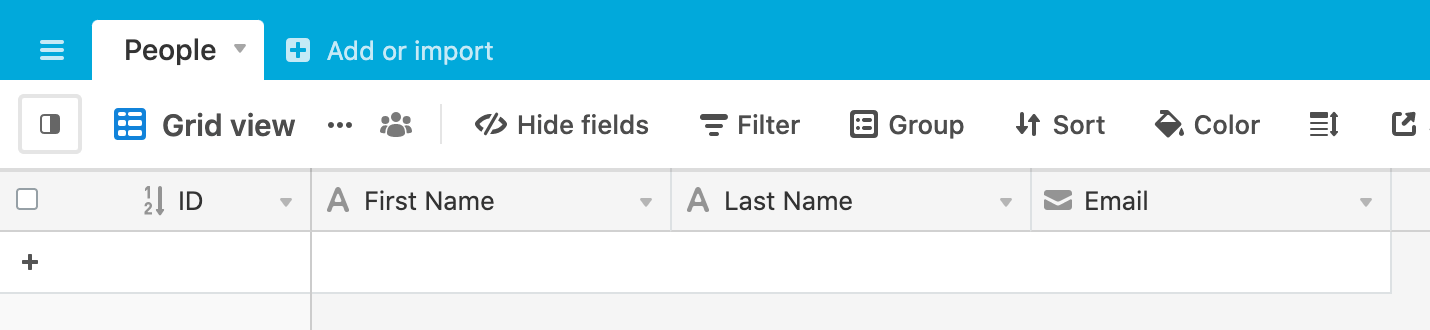
We’ll start with simple table to hold names and emails:
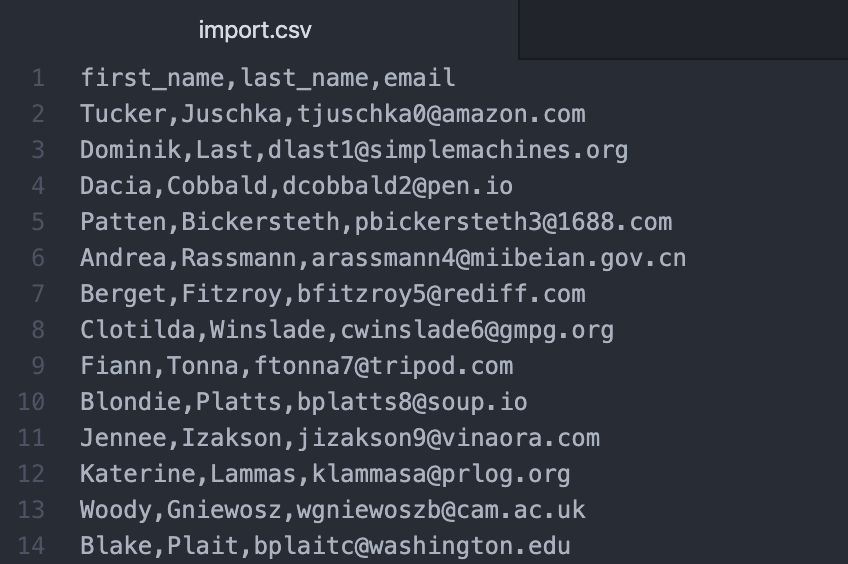
And we have a matching CSV file to go with this:
We’ll start our script by defining the table we want to import into and by setting up the input.file method:
let table = base.getTable('People');

let csvFile = await input.fileAsync(
    'Pick a CSV file to upload',
    {allowedFileTypes: ['.csv'], hasHeaderRow: true}
);
The input.file method takes 2 arguments or parameters:
- A label which appears in the user interface - a great way to give your user a prompt or instructions
- An object of options. Here we can specify the allowed file types and whether or not the file has a header row
We then wrap the body of the script in a conditional - “if we have a file”:
if(csvFile) {
  ...body of script here...
}
In practice, this isn’t strictly necessary with the await file.input method, but it is always good practice to check that you have a “thing” before you run operations against it, so I’ll include it here.
Inside of the if() statement, we’ll start by getting the parsed contents of the file and displaying the first 10 records so that the user has some sense of the data we’re going to import and a chance to cancel the import if it doesn’t look right.
let fileRows = csvFile.parsedContents;
output.text('Here are the first 10 records of your file');
output.table(fileRows.slice(0, 10));
This will give output in the script panel:
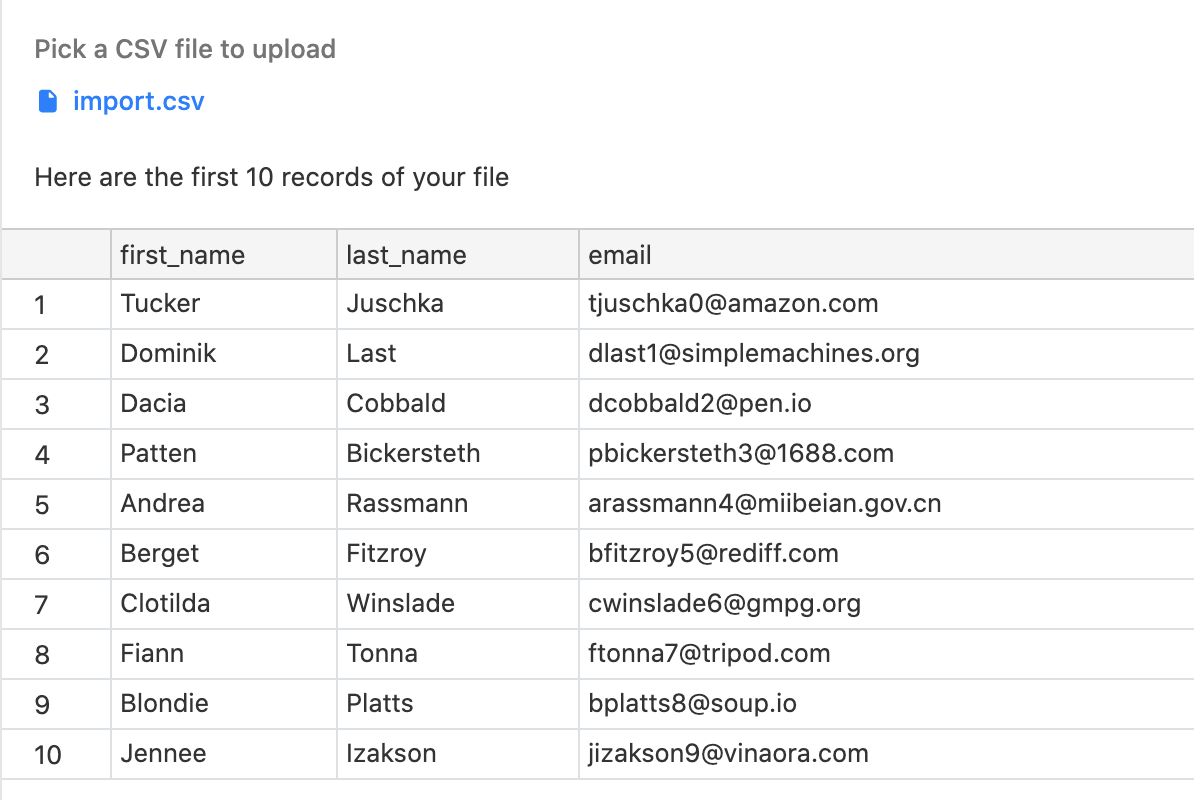
fileRows is an array and we use slice to get the first 10 elements of the array.
We can now use input.buttonsAsync to get user confirmation to proceed with the import:
let proceed = await input.buttonsAsync(
    'Would you like to continue with this import?',
    [{label: 'Proceed', variant: 'primary'}, 'Cancel']
)
If the user chooses to proceed, we can map the fileRows array to a format suitable for creating records in Airtable, then we use createRecordsAsync to create the records.
if(proceed == 'Proceed') {
    let newRecords = fileRows.map(fileRow => ({
        fields: {
            'First Name': fileRow.first_name,
            'Last Name': fileRow.last_name,
            'Email': fileRow.email
        }
    }));
    output.text('Importing data');
    while (newRecords.length > 0) {
        await table.createRecordsAsync(newRecords.slice(0, 50));
        newRecords = newRecords.slice(50);
    }
    output.text('Import completed');
}
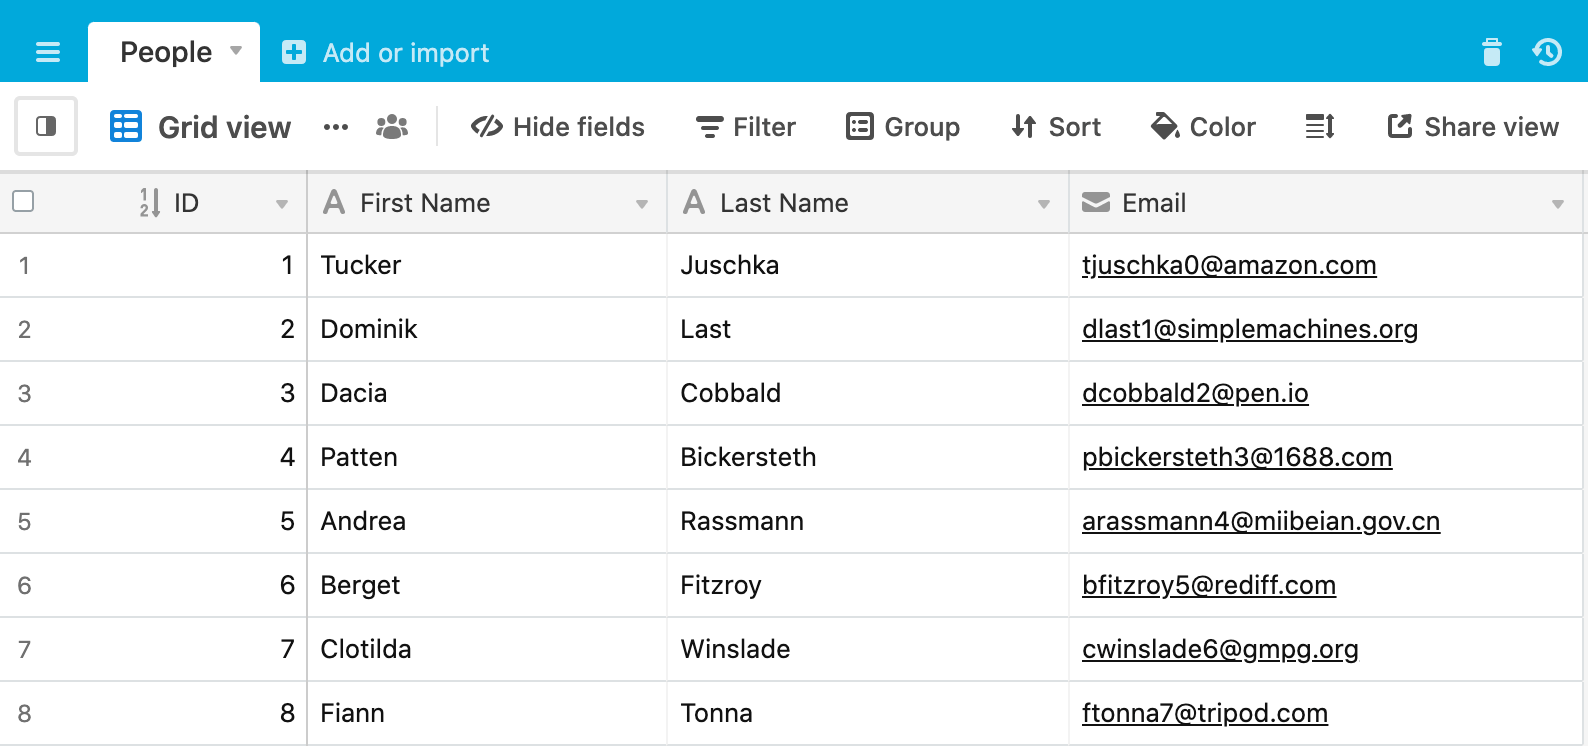
The final result in Airtable is:
Take a look at the final script here.